Google Analytics is a web analytic service that tracks your website and provides reports of website traffic. With this tool, you can track the activity like page session, bounce rate, and more of the website that you are suing. The best thing is it is completely free to use, but if you want more advanced features then you need to pay some fees.
Are you having a WordPress site? Want to set up Google Analytics for it? But you don’t know how to do it. Don’t worry here we are to help you out. As we know, by installing the Google Analytics tool, you get all the details of your site, so it is the best way to know your audience via traffic stats.
So, let’s get started and check how to install and set up Google Analytics on a WordPress Site.
How to install Google Analytics on WordPress Website?
Before adding the tool to your site, first, you need to sign up on it. The process is quite simple and easy. Follow the step-by-step guide and install the tool to your WordPress site.
Step 1: Sign up on Google Analytics
- First, log in to your Google account or create an account from the given link
- Enter your details like name, and password and set your account data
- Then select how you want to measure your site.
- Click on Web and proceed
- Enter the details of your website in the third section. Then click on Create button.
- Then you will see the Terms of Service, check on all the important boxes then click on the I accept button.
- That’s It! You have successfully created an account.
Step 2: Install Google Analytics Plugin
- First of all, log in to your WordPress website and go to Dashboard
- Then click on Plugins on the left-hand side
- Tap on Add New and type GA Google Analytics in the search box
- Click on Install now
- Once it is downloaded, activate it and then set up
Step 3: Configure the Plugin
As we have downloaded the plugin, now we need to configure it. Open your WordPress Dashboard and go to Settings >> GA Plugin.
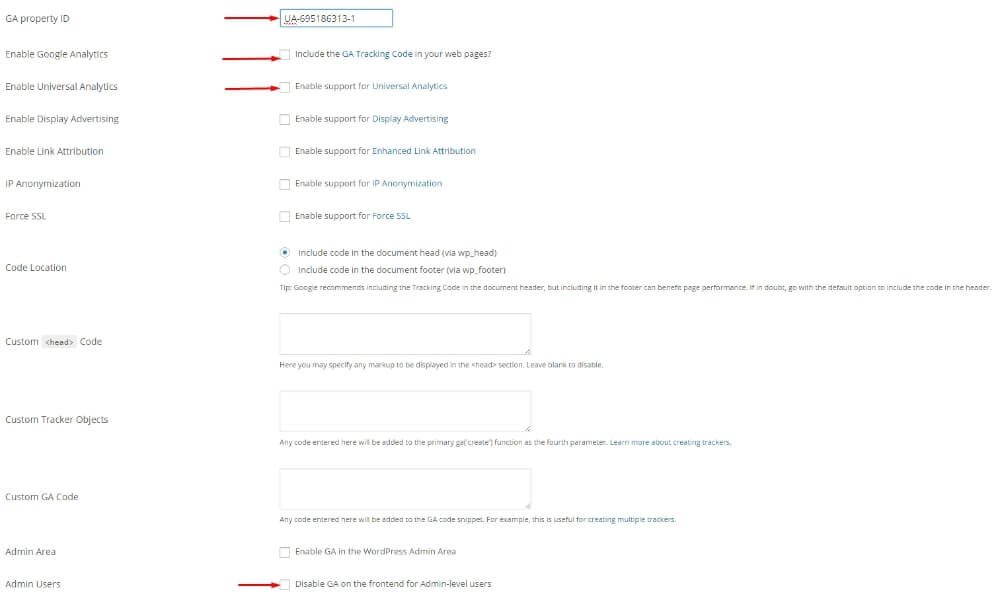
Firstly, you should enter your GA property ID. Get it from the Google Analytics account.
Steps to get GA Property ID:
- First, log in to your Google Analytics account.
- Go to Admin and select Property Settings.
- There you will see tracking ID, Copy and paste it on the configuration page.
Once you enter the GA ID, then click on the check box of enable google analytics, and enable universal analytics. At last click on Admin users.
NOTE: If you have a website that is using only https then check the box for “Force SSL”.
Then click on the Save button and your website has successfully installed Google Analytics. Now, you can easily track traffic and check other details of your website and can improve.
Why is Google Analytics Important?
When you start a new website, the main thing you need to know is from where you are getting visitors. This tool helps you to get all the details like collect website data, understanding the behavior of customers, user experience, online content, and more.